FR
FR US
US DE
DE IT
IT ES
ES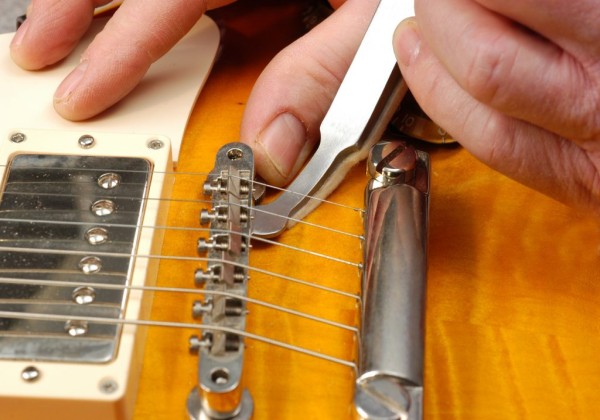
INSTALLING A TUNE-O-MATIC BRIDGE
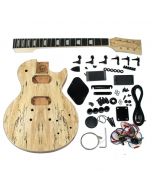
Many guitar kits use a tune-o-matic bridge, such as Les Paul, Gibson ES335, PRS, Rickenbacker, and Flying-V. Here is a comprehensive guide to installing or changing a tune-o-matic bridge on your guitar. We will walk you through the process step by step, ensuring precise bridge positioning and expert assembly.
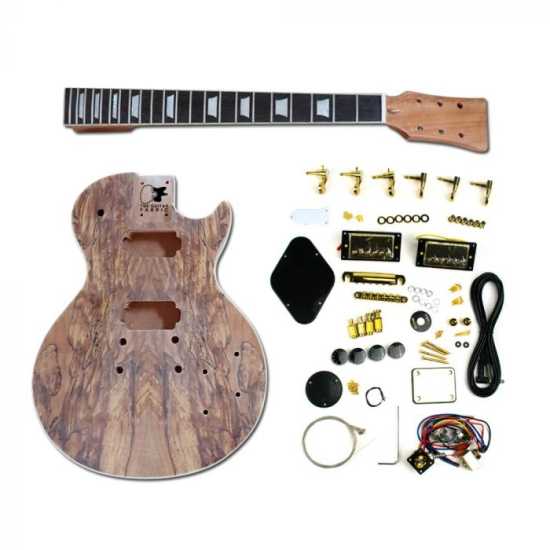
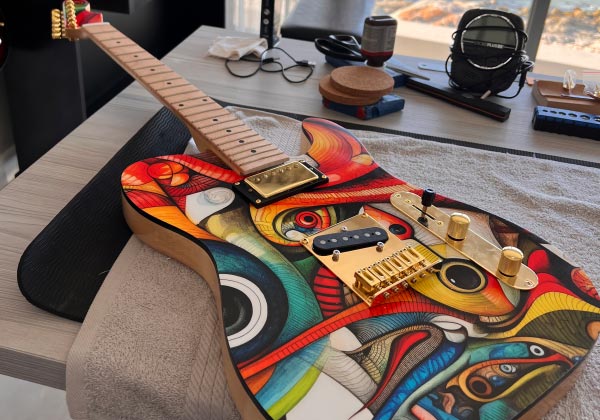
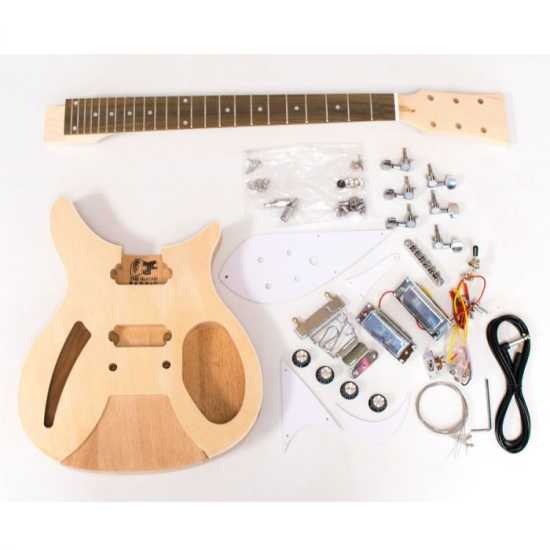
Our LP Guitar kit with tune-o-matic bridge
Checking Bridge Positioning
Measure and confirm your guitar kit's scale length by comparing it to the provided value on our website or blog article. Validate this measurement by checking if the distance between the nut and the 12th fret, multiplied by 2, equals the scale length.

Why are tune-o-matic bridges angled?
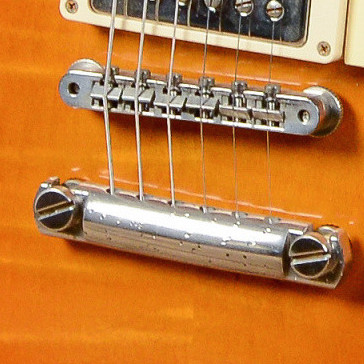
Tune-o-matic bridges are angled to ensure precise tuning. The bridge and saddle dictate string length, determining pitch. By adjusting where the string breaks over the bridge, you can fine-tune intonation. This angled design accommodates string gauge variations, improving intonation.
Customers often ask us questions like this:
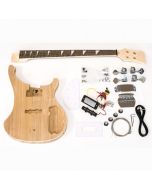
"I got my Rickenbacker guitar kit, and the bridge installation holes don't seem level with the guitar body. One is higher by about a quarter of an inch. Is something wrong with my guitar kit?"
No, your guitar kit is not defective. The slightly tilted bridge is intentional and standard in our DIY guitar kits. It helps improve the scale length and intonation for each string because strings vary in thickness. This tilt gives you an initial intonation adjustment.
When you finish building your guitar kit and move to the setup phase, you'll want to make some final intonation adjustments and fine-tune the bridge for perfect tuning, as explained in our electric guitar kit user guide. This ensures your guitar plays in tune and sounds great.
Tailpiece Installation
Distinguish between the bridge studs and tailpiece studs. Begin with the tailpiece by driving threaded bushings into the two rear holes of the guitar body.
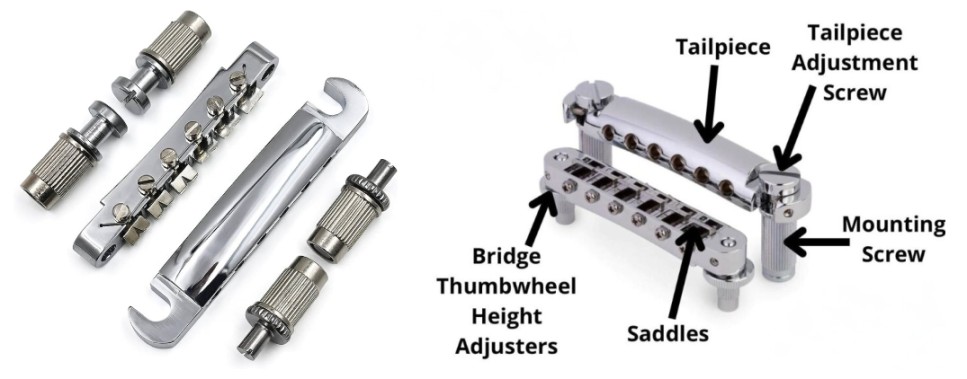
Bridge Mounting and Integration
Generally, the predrill for the studs has been made. This makes the installation of the tune-o-matic bridge on a guitar kit straightforward. Here are the steps for an easy integration.
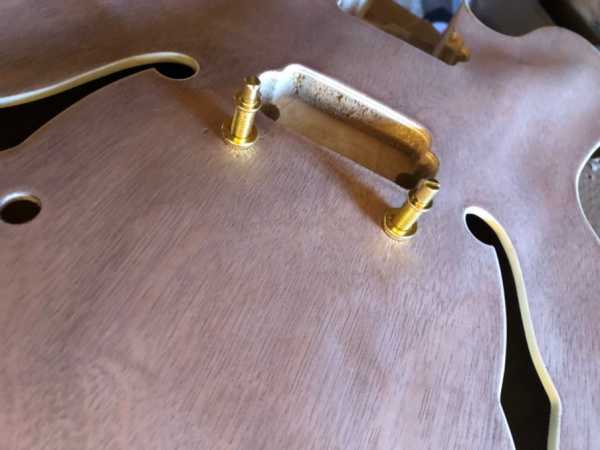
1. Put the bushing in place.
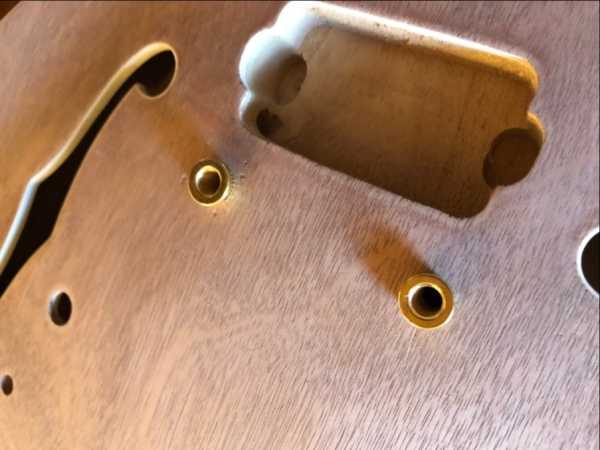
2. Add the screws, but don't tighten them too much; this way you have more flexibility than if the mounting screws are already fully integrated, and it will make the tune-o-matic integration easier.
3. Install the bridge on the mounting screws.
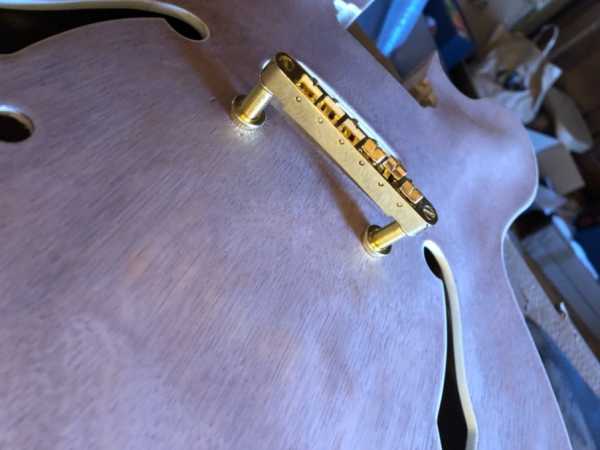
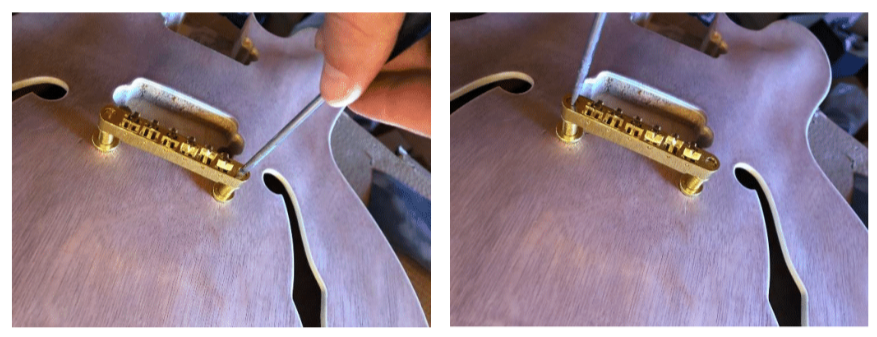
4. Tighten a bit from one side, then from the other side. Ensure the bridge is securely installed at all times until reaching the bottom.
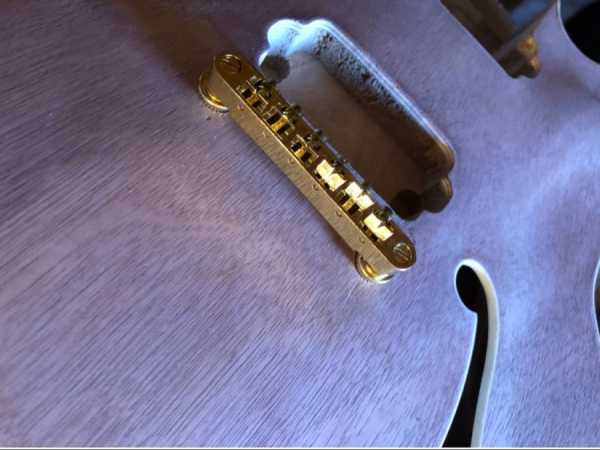
You will have your tune-o-matic bridge fully integrated.
Additional tips
Difficulty to integrate the mounting screws in the predrill posts: Note that if you struggle to insert the posts, you can use a plastic hammer and a small block of wood. Put the wood plate on the post and hit gently the wood plate with the hammer. If the insertion of the post in the predrill is too tight, you can use a round filing tool. Very slightly sand both sides of the bridge pre-drill; you will notice the bushing is still difficult to integrate and well secured.
Removing a bushing: To remove a bushing, you can use two screwdrivers. Insert one screw halfway into the bushing and pull it over.
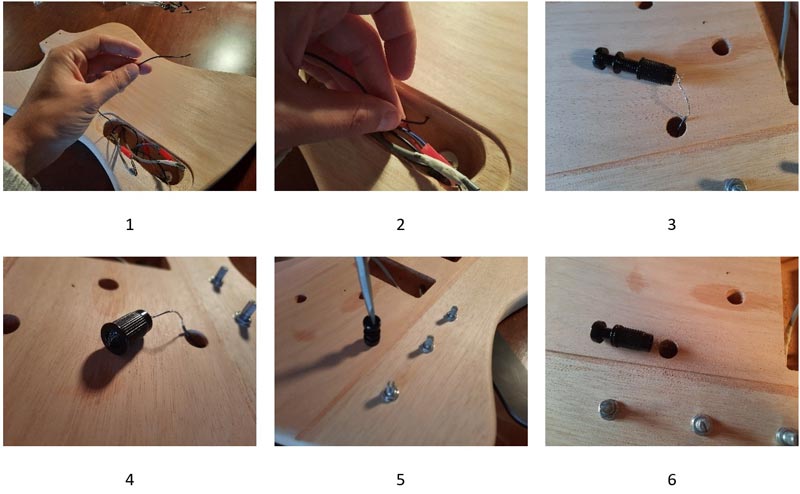
Grounding the electronic to the mounting screws
Generally, we use mounting screws to ground the electronic. Grounding the electronic is very important as it will remove noise and hum.
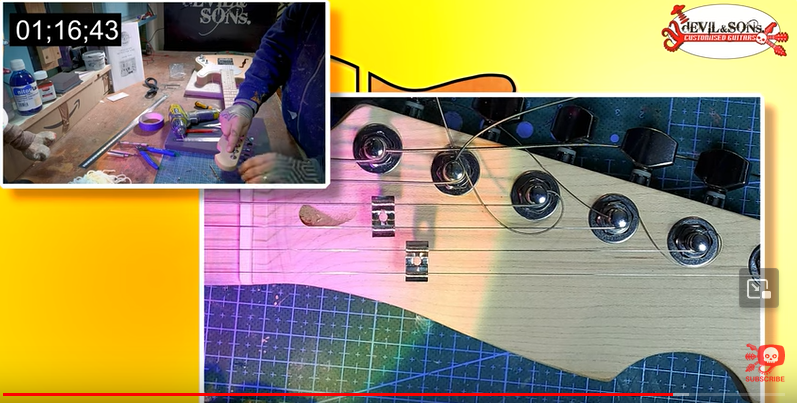
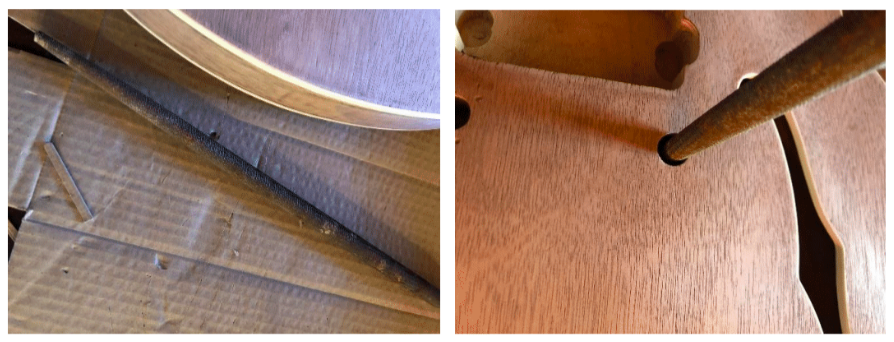
For proper grounding of the electronic circuitry, guide the ground wire through the 1/8” hole in the control cavity until it reaches the bridge bushing hole. Form a loop around the bushing and tap it tightly into the hole.
Below is an example of a ground wire setup for a tune-o-matic bridge.
Congratulations! You've successfully installed a tune-o-matic bridge on your guitar body. Remember, precise bridge positioning is essential for optimal playability and sound.