FR
FR US
US DE
DE IT
IT ES
ES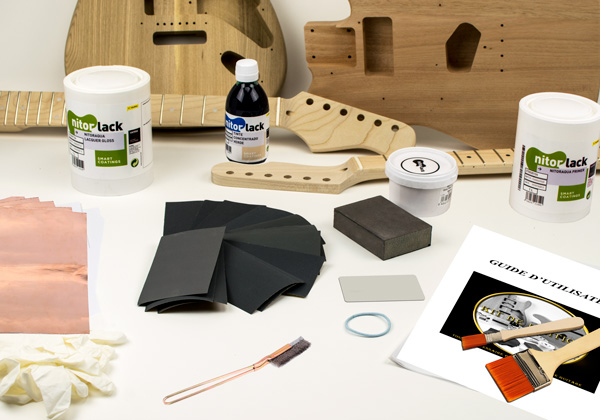
TOOLS RECOMMENDED BEFORE BUILDING YOUR GUITAR KIT
Are you ready to transform your DIY guitar kit into a stunning masterpiece? Before you pick up that brush or spray can, make sure you're equipped with the essential tools and insights that will set you up for success. Achieving a professional-quality finish requires careful preparation, and our comprehensive guide is here to walk you through the process step by step.
Essential Tools for Your Guitar Kit Painting Project
Gathering the right tools is the first step to ensuring a flawless finish. While you can always explore more advanced techniques as you gain experience, we've outlined the strictly necessary tools you'll need for a successful painting endeavor:
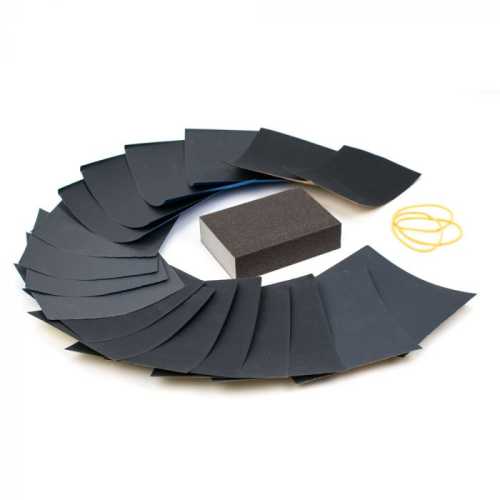
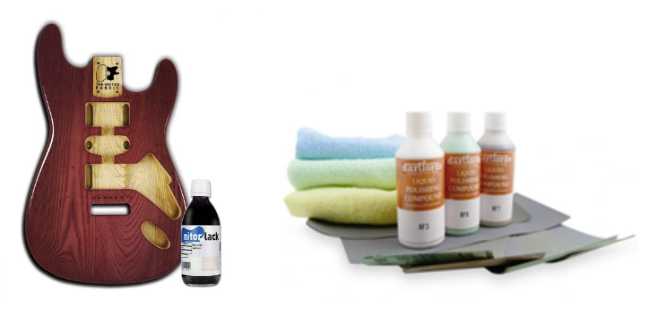
- Sanding Paper (wet): Prepare your guitar's surface with varying grits, including 400, 600, 1000, 1500, and 2000 for a smooth foundation.
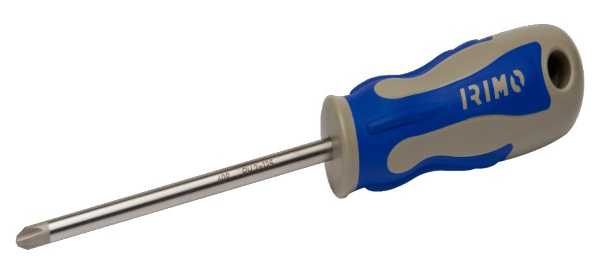
- Screwdrivers: Easily handle any adjustments or fixes required during the painting process.
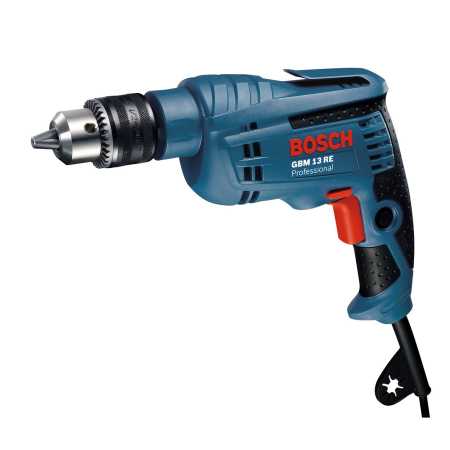
- Hand Drill (or Drill Press): Ensure precise holes and placements for hardware and accessories.
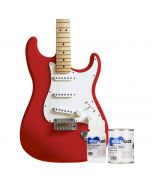
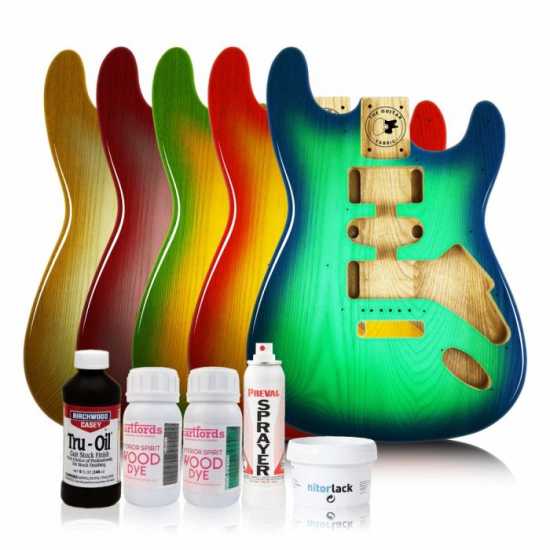
- Painting or Dye: Using dye on wood accentuates natural grain patterns, offers color customization, and maintains transparency for a subtle look. Paint provides complete coverage, hides imperfections, ensures consistent color, and offers protection against damage and the elements. Dye enhances the wood's aesthetics while paint allows for bold designs and versatile applications. Your choice depends on desired outcomes: dye highlights wood's beauty, while paint covers for uniformity and protection. Both options offer creative avenues, with dye emphasizing organic appeal and paint enabling intricate patterns. Consider project goals and preferences when deciding between dye and paint on wood.
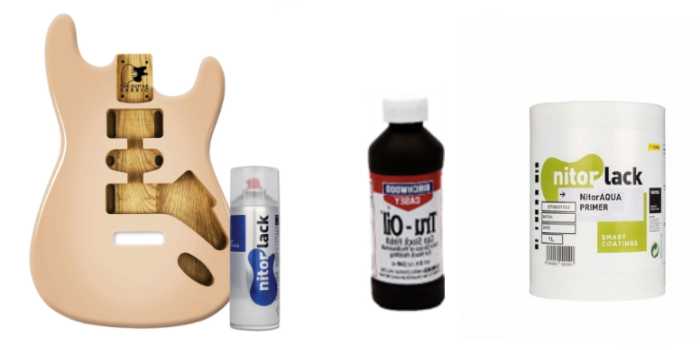
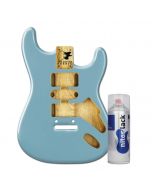
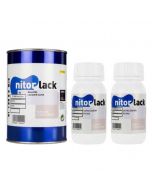
- Varnish for Wood: Varnish is a protective finish applied to wood for several benefits. It enhances the wood's appearance by highlighting its natural beauty and grain patterns, offering a glossy, semi-glossy, or matte finish. Varnish provides a robust layer that shields wood from moisture, UV rays, and daily wear, preventing damage like warping or rotting. It's durable, ideal for high-use items like furniture and flooring, and easy to clean, maintaining its quality over time. Varnish also offers versatility, coming in various formulations for different gloss levels, and it preserves the wood's natural look while safeguarding it from the elements. However, proper surface preparation and application are vital for optimal results.

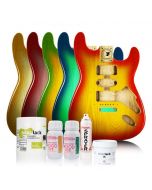
... or select one of our painting sets which match with what you want to achieve: it will contain all the products, grain filler, dye or paint, varnish for you to achieve what you desire.
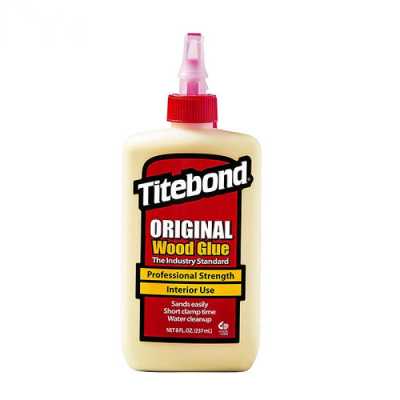
- Wood Glue (for set-in guitar neck): For guitar kits with a set-in neck, secure components with precision.
Product Inspection: Elevating Your Guitar-Building Experience
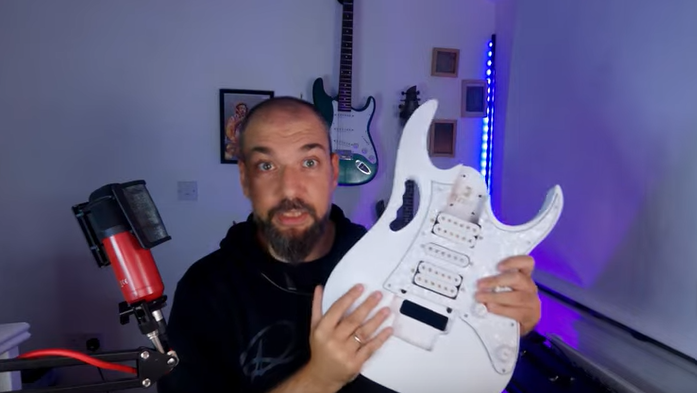
While your instrument's tone and playability remain unaffected, a superior finish is a testament to your craftsmanship. Building and playing an unpainted guitar is an option, but we strongly recommend taking your project to the next level with a professional finish. Here's what you need to know before you dive in:
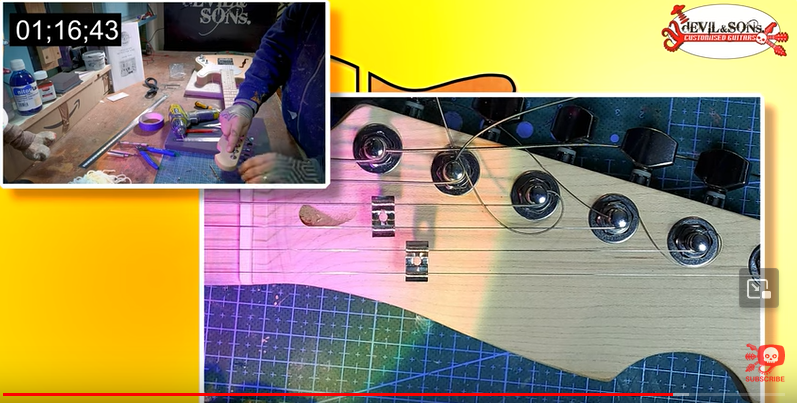
- Pre-Assembly Assessment: Before you start painting, mount the guitar blank and carefully attach both E strings without excessive tension. This initial step ensures proper alignment and eliminates the need for adjustments at the neck heel. Particularly for kits with glued angles, this step guarantees a seamless fit.
- Familiarize Yourself with the Kit: Attaching the strings allows you to acquaint yourself with the different parts of your kit. Take this opportunity to familiarize yourself with the components and hardware—don't forget to keep track of those screws!
- Removing Glue Stains: For flamed, quilted, or spalted maple tops, use 400/600 grit sandpaper to gently remove any glue stains. Gradually sand and check for stain removal until your guitar's surface is flawless.
- Staining Considerations: When staining such intricate tops, apply small amounts of stain to avoid over-saturation and potential blistering. Prioritize sanding your body and neck to P400-P600 grit, ensuring all glue stains are eradicated before painting and varnishing.
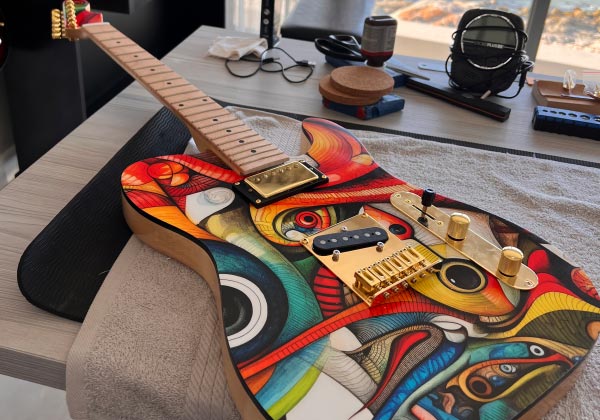
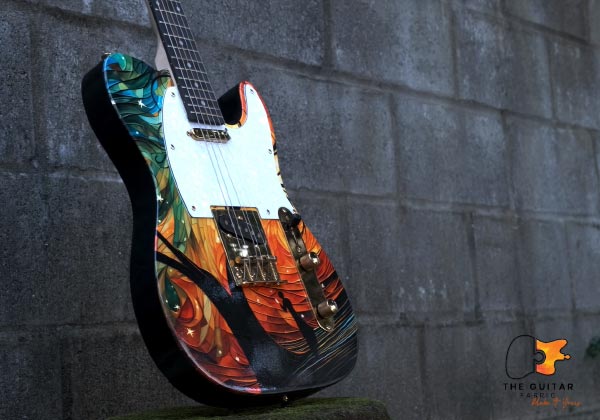
Embarking on a guitar-building project is a journey that culminates in a piece of art that you'll proudly call your own. Don't compromise on the finish—follow these recommendations, arm yourself with the right tools, and enjoy the satisfaction of creating a guitar that's as visually striking as it is melodiously enchanting.
We encourage you to share your thoughts and questions in the comments below. Whether you're a seasoned craftsman or just starting your creative journey, your insights and experiences are invaluable to our community. Let's build your own guitar together!