FR
FR US
US DE
DE IT
IT ES
ES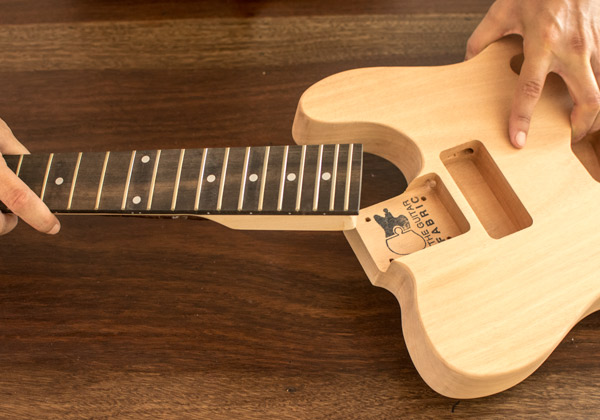
ASSEMBLING AND ATTACHING YOUR DIY GUITAR’S NECK
Crafting your own electric guitar is a gratifying endeavor. Mastering the assembly and attachment of the neck is vital for a well-playing instrument. This guide walks you through the process, ensuring precision and excellence in your DIY guitar project.
Part 1: Assembling the Neck Mechanics
Creating a stable foundation is key. Follow these steps:
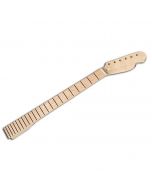
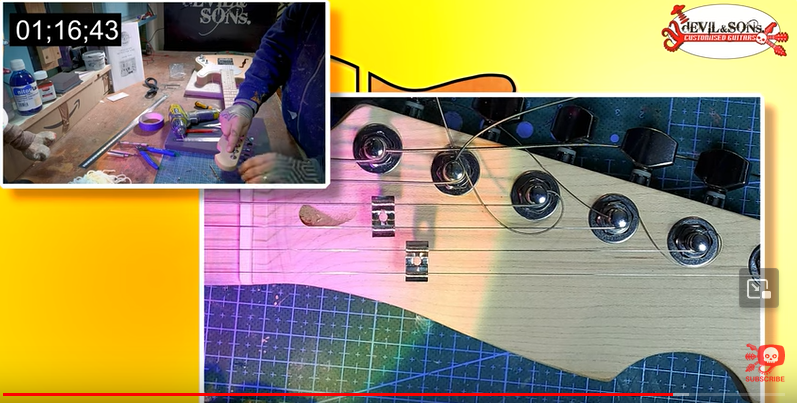
1. Tuner Installation: Push tuners into the headstock's back. Secure them with provided screws.
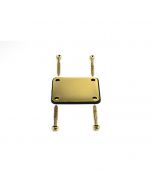
2. Bushing Placement: Attach tuner washers to bushings. Place bushings on tuner pegs. Gently tighten bushings with a 10mm spanner.
Part 2: Neck/Body Attachment
Proper alignment and integration are crucial. Here's a concise guide:
1. Neck Integration Check:
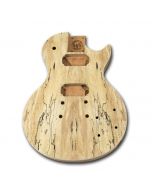
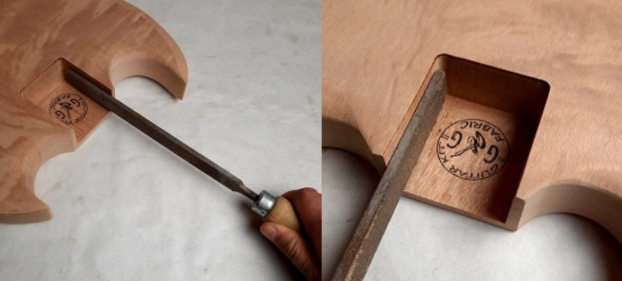
- Verify Neck Heel Integration: Ensure neck heel fits the body. File the neck pocket slightly for a perfect match.
- Adjusting Neck Width: If the neck heel is slightly wider, file both sides of the neck pocket equally until a snug fit is achieved.
2. Neck Alignment Check:
- Initial Fit: Attach neck without screws. Use clamps to secure it.
- Align with Key Components: Install bridge, 2 E tuners, and loosely tensioned strings. Check alignment with bridge, pickups, string height, and scale length.
- Fine-Tune String Action: Strive for your preferred string action and scale length. While you'll have additional tools at your disposal, such as truss rod and bridge height adjustments, achieving the ideal string action might require subtle tweaks—like carefully sanding the heel to adjust the inclination—for a flawless result.
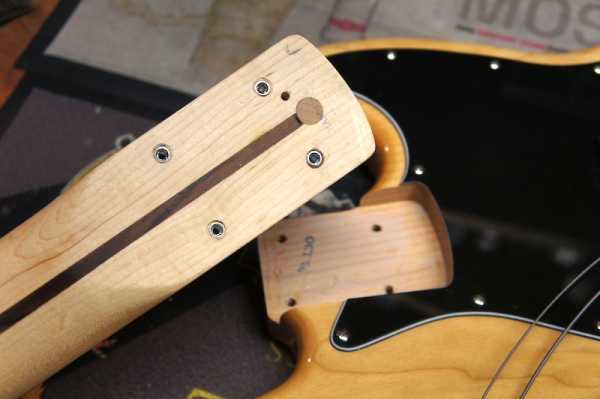
3. Predrilling or Gluing the Neck:
- Option 1: Predrilling for Bolt-On Neck:
- Mark Drilling Points: Use a drill bit to mark screw positions.
- Drill: Remove neck, drill using a wood bit, and attach with four screws.
- Option 2: Gluing for Set-In Neck:
- Clean Neck Pocket: Ensure it's clean.
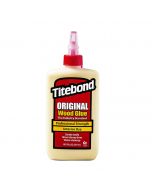
- Apply Wood Glue: Follow guidelines and clamp for 24-48 hours.
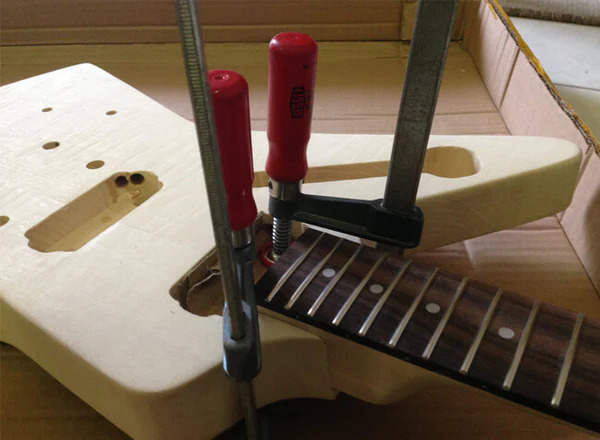
Clamping neck after gluing
Mastering neck assembly and attachment is pivotal. This guide empowers you to create a remarkable DIY electric guitar. Precision and patience yield an instrument that reflects your skill and passion—a masterpiece ready to be played.
Feel free to share your thoughts and questions in the comments below. We're excited to hear about your experiences with assembling and attaching guitar necks. Whether you're a seasoned builder or just starting out, your insights and interactions are valuable to our growing community of guitar enthusiasts!