US
US FR
FR DE
DE IT
IT ES
ESTHE WOOD PREPARATION
- The Guitar Fabrik
- PAINTING USER GUIDE
- Mar 16, 2025 views
- 149
WOOD PREPARATION
Glue Stain
Before starting the finish, take a close look at your guitar body. If you notice any glue stains, remove them gently by hand-sanding with P240 to P400 grit sandpaper. Sand gradually and evenly, checking your progress regularly — the goal is to eliminate the stains while removing as little wood as possible. Also take this time to inspect the entire surface for any dents, scratches, or rough areas. Smooth them out with light sanding if necessary, as these imperfections may become more visible once the finish is applied. Finally, make sure all the contours and edges of the body are clean and well-defined, especially around routed areas, cavities, or binding. A clean surface is essential for an even grain-raising step and a flawless final result.
Raising the Grain (optional)
This step is optional but recommended for mahogany or ash when using water-based products — especially with our translucent kits. It helps achieve a smoother finish and reduces paint consumption, particularly with nitrocellulose or opaque polyurethane finishes. Skipping it won’t ruin your result, but it may slightly affect the final texture.
When water or water-based products contact bare wood, the fibers swell — this is called “grain raising”. Once dry, the surface feels rough. Since this effect is unavoidable with water-based finishes, it's best to control it before applying your stain or sealer.
To do this, dampen the wood evenly with a sponge or cloth and let it dry completely (ideally overnight, or at least 4–5 hours in warm, dry air). Then sand lightly with P240 grit paper — just enough to smooth the raised fibers without going too deep. Worn or slightly dull sandpaper works well for this purpose.
If the surface still feels rough, repeat the process with a second round of wetting and sanding, this time using finer grit like P400 for an even smoother base.
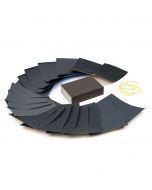
Sanding the Instrument
The purpose of sanding is to create an ideal surface for finishing and to do this we need to create a smooth surface, remove imperfections and machine marks that affect your finish. Note that your body and handle have been pre-sanded with grit P180.
First, here are some important rules to follow during the sanding step:
- Always sand in the direction of the grain (forwards and backwards with the grain) never on the side. For the sides and edge of the body it may be more difficult to sand in the direction of the grain in which case always sand in a direction that you have predefined.
- Sand first with a P240 grit, then P400 in the case of a stain. This step of smoothing wood with different grain levels is important. Each step P240 and P400 has its uses.
- Cavities that will not need to be painted since they will be covered by one of the components, pickguard pickups, etc. do not need to be sanded.
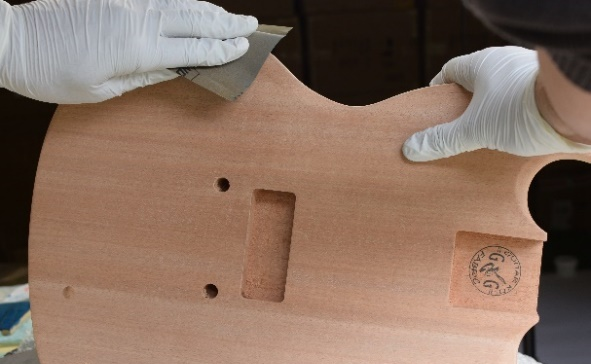
- Sand all flat faces and outlines well, and don't forget the hard-to-reach places. Then clean with a rag or with a fan to remove all dust and wood catfish.
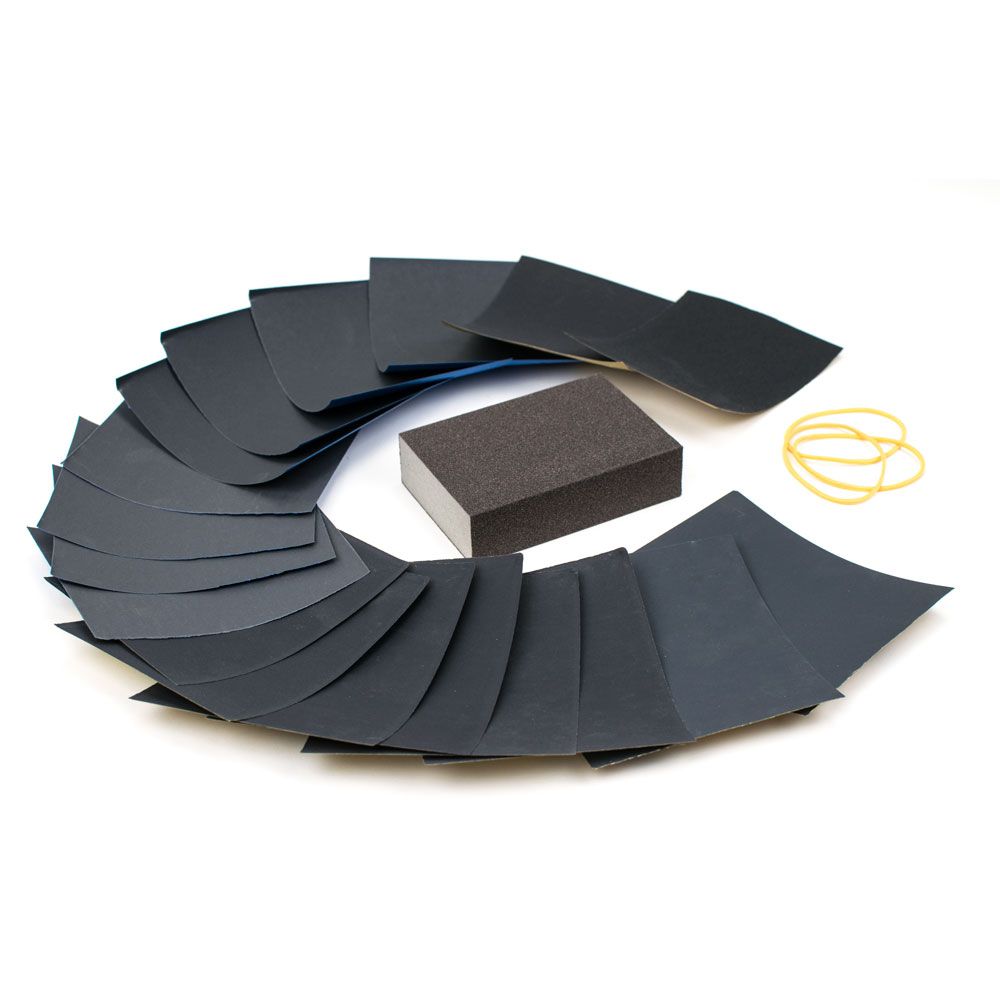
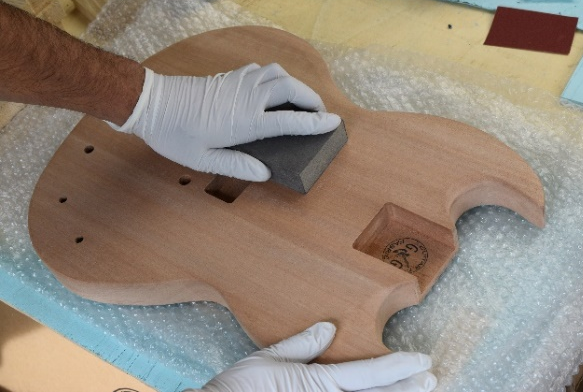
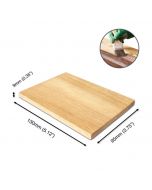
- You should ALWAYS use a sanding block on the flat surfaces of your guitar (or a rotary sander if you have).
- When using the polishing pad or sandpaper clean it often. To do this pat and rub lightly on a rag surface to remove the dust embedded in your sandpaper. When the sandpaper becomes very worn, replace it.
- When sanding the edges of your guitar or delicate areas of the neck, remove the sanding block and simply slide the sandpaper between your fingers against the surface. It takes longer but will result in a better finish and allow you more control.
- When satisfied with your job, be sure to remove all sanding dust and grits with a vacuum, damp cloth.
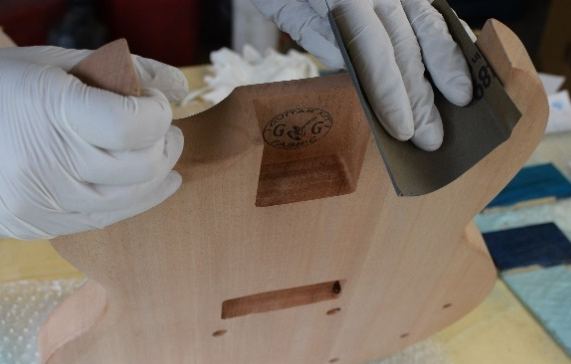
Sanding by hand: This is a bit of a tedious but essential step and it is important to do it well to get a good result.
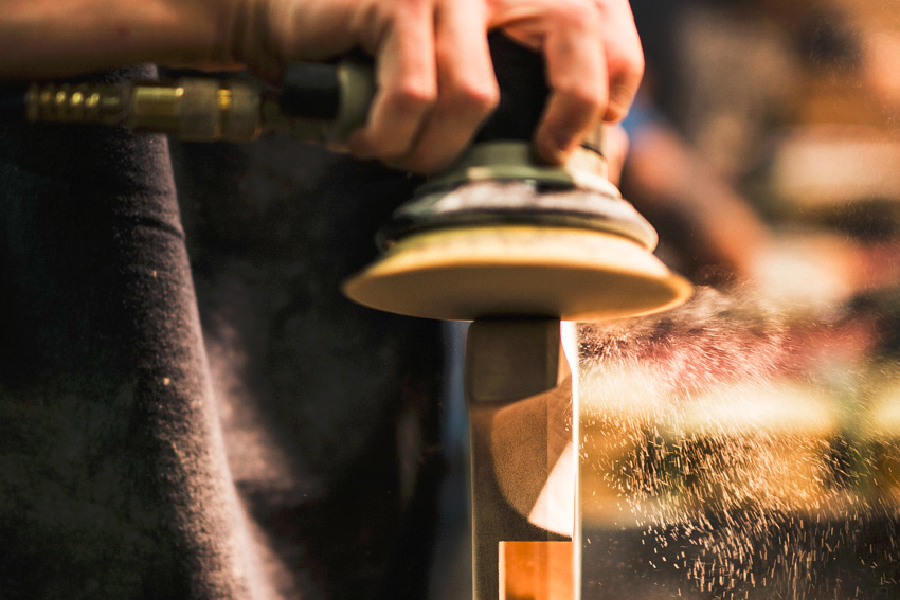
Sanding with a machine: If you have a rotary sander (excentric), don't hesitate - they'll make your life a lot easier. But take it easy!
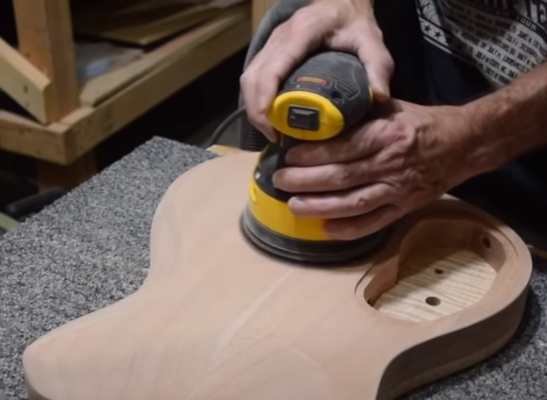
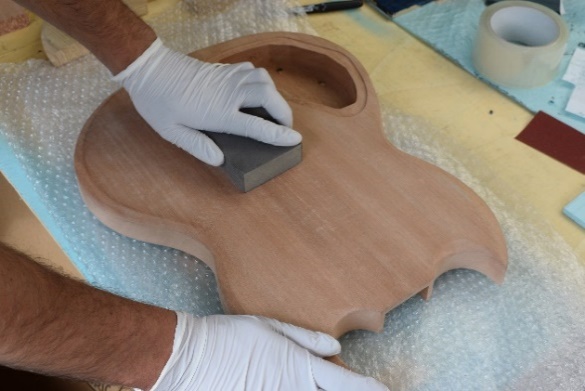
Sanding the contours: A rotary sander is no longer appropriate here, as it can easily round off or damage the delicate curves and edges of your body. Switch to hand sanding with a soft block or flexible pad to maintain control and precision. Once your contours are smooth and consistent, you're ready to move on to the next step: applying the grain filler.
Tip: For sanding guitar edges and contours, flexible tools like a foam tip, rubber eraser, cork block, or even a thermal insulation sheath wrapped in sandpaper conform easily to curves, offering better control without flattening rounded areas. Mixing these lets you adapt quickly to different shapes while staying gentle on the wood.
Related Products


Related Posts

- The Guitar Fabrik
- Jun 27, 2025
- 296views
IBANEZ CUSTOM BASS SHOWCASE

- The Guitar Fabrik
- May 29, 2025
- 426views
B.C. RICH CUSTOM GUITAR SHOWCASE

- The Guitar Fabrik
- May 1, 2025
- 176views
MUSIC MAN CUSTOM BASS SHOWCASE

- The Guitar Fabrik
- Apr 28, 2025
- 730views
RICKENBACKER CUSTOM GUITAR SHOWCASE
Related Products
Recent Posts