US
US FR
FR DE
DE IT
IT ES
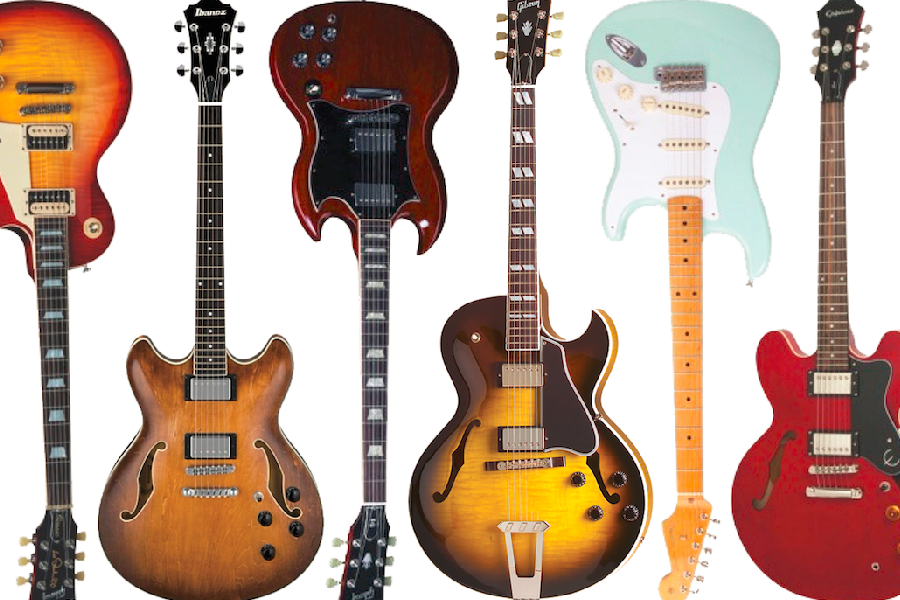
ESVARNISHING MY GUITAR WITH NITROSPRAY
- The Guitar Fabrik
- PAINTING USER GUIDE
- Mar 23, 2025 views
- 206
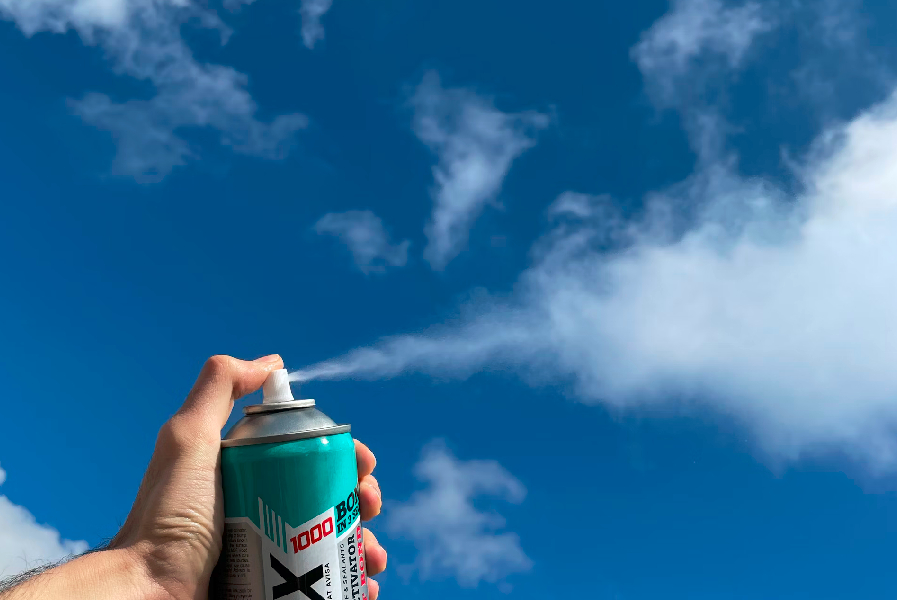
NITROCELLULOSE SPRAY VARNISHING

General Information
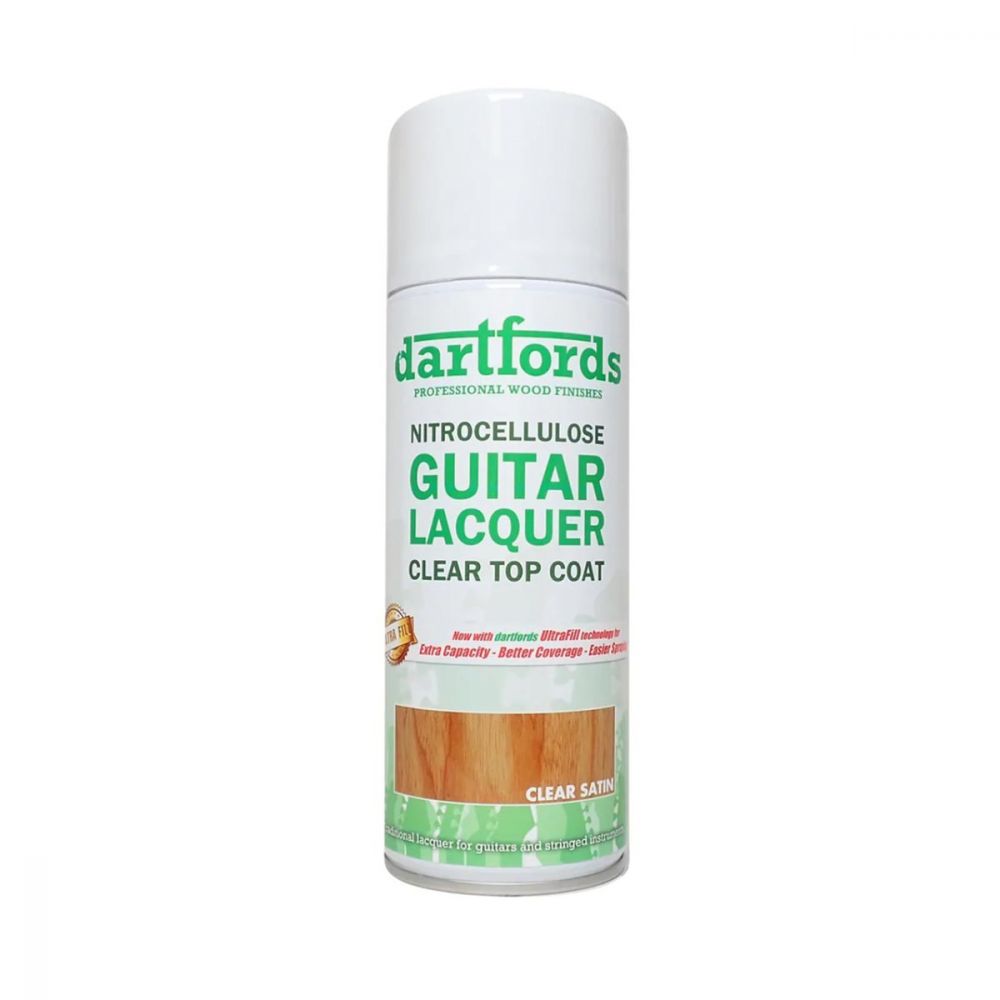
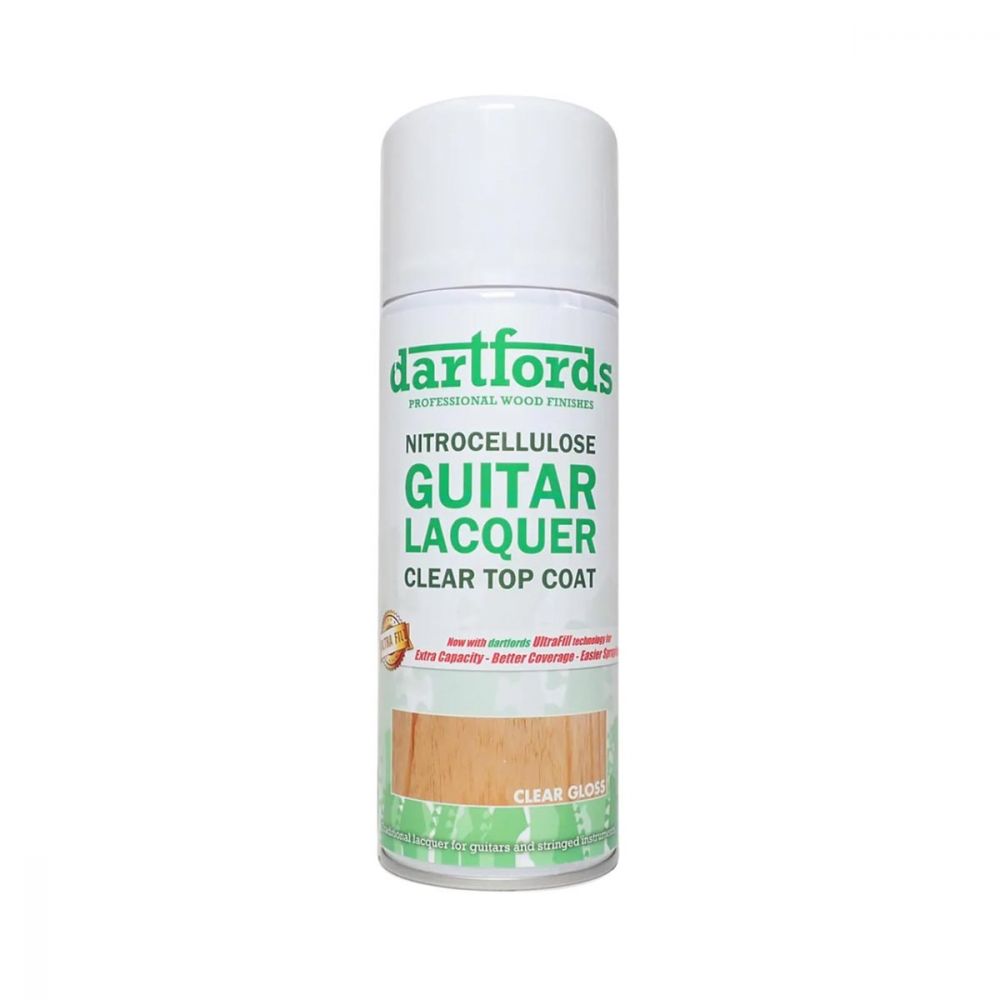
Most store-bought electric guitars are finished with polyurethane, but we have opted to provide you with a nitrocellulose spray lacquer ( ). Nitrocellulose lacquer offers a traditional, vintage-style finish that enhances the natural resonance of the wood. However, it requires more care in application and longer drying times compared to water-based alternatives. Please keep in mind the following recommendations.
- Before starting the varnishing step, make sure your wood has been sanded to at least P400.
- Apply very thin coats to achieve an even and smooth finish.
- Applying nitrocellulose lacquer is a delicate process, so take your time.
- Unless you prefer otherwise, fretboards are typically left unvarnished. Instead, consider applying Tru-Oil or lemon oil for better playability.
- Inspect the surface carefully after each coat to detect any imperfections or drips.
Preparation
Before use, shake the nitrocellulose can thoroughly for at least 2 minutes. It is crucial to ensure the lacquer is well-mixed for an even application. Prepare your guitar body as described in the previous sections.
Application
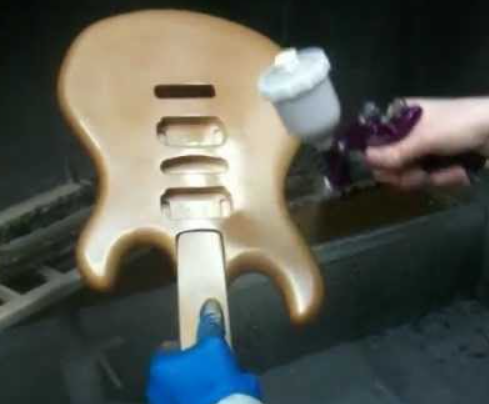
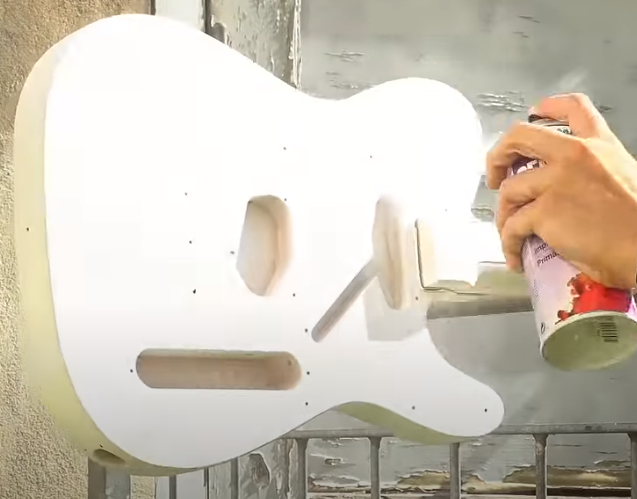
Apply the nitrocellulose lacquer in thin, even coats. Hold the can approximately 20-30 cm from the surface and spray in smooth, overlapping passes. Work in a dust-free, well-ventilated area, preferably with protective gear such as a mask and gloves. 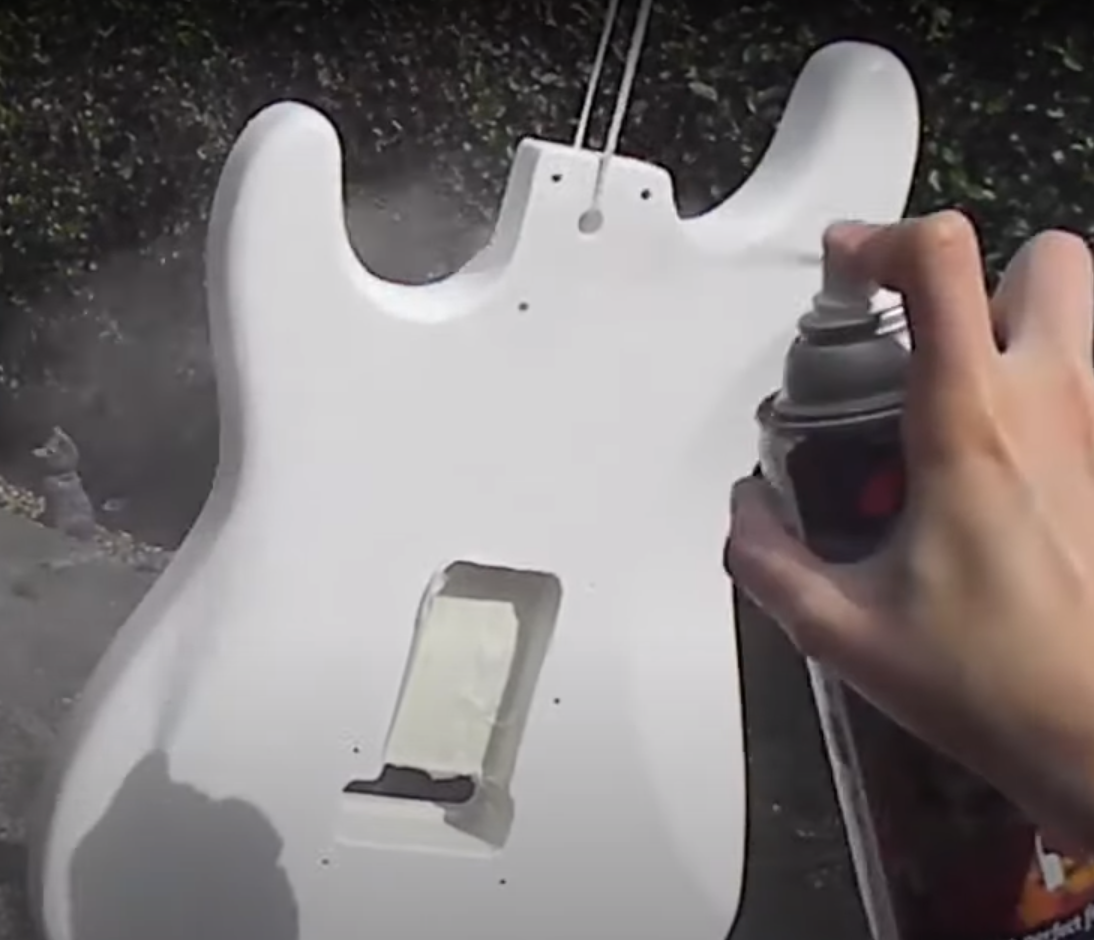
Always spray along the grain direction. Start with the top, then move to the sides and back. Allow sufficient drying time between coats to prevent defects.
For the first two coats, do not sand between layers unless you notice significant drips or orange peel texture. If needed, use P600 sandpaper for minor corrections. Ensure that each coat is completely dry before applying the next one. Given nitrocellulose's properties, drying times will vary depending on humidity and temperature.
For the third coat onward, allow at least 24 hours of drying time before sanding lightly with P800 sandpaper. This gentle sanding helps the next coat adhere properly and ensures a smooth surface.
The final coats should be applied with extra care. Let the lacquer cure for at least 7 days before proceeding to the final sanding and polishing steps. Below is a summary table of the varnishing process.
| Coats | Waiting Time (after one layer) | Type of sanding |
| 1st coat | 1 hour | None (P400 if drips or orange peel) |
| 2nd coat | 24 hours | P1200 light sanding |
| 3rd coat | 1 hour | None |
| 4th coat | 4 hours | P1500 light sanding |
| xth coat | 4 hours | No sanding (wait for curing) |
| Final coat | 1/2 day x number of coats | No sanding (wait for curing) |
Tip: You can also incorporate wet sanding instead of dry sanding for an even smoother finish. Use high grit waterproof sandpaper (P800–P2000), a sanding block, and clean water with a few drops of dish soap — it acts as a lubricant and helps prevent scratches. Soak your sandpaper in water for 10–15 minutes before use, and lightly moisten the guitar surface as well. Ideally, keep both sandpaper and surface damp while sanding. Gently sand the surface, and frequently wipe it down to inspect your progress. This reduces airborne dust and gives a finer result, but requires a delicate touch to avoid sanding through the finish layers.
Caution: Wet sanding is not suitable for Tru-Oil finishes: water can damage the oil layer and may seep into the wood. Always use dry sanding techniques when working with oil-based finishes. Also, never wet sand bare wood — this technique is meant for sealed, colored, or clear-coated surfaces only. Ensure the surface is completely dry before applying the next coat.
Want to dive deeper into the differences and best use cases for wet vs. dry sanding? Check out our full guide here.
Once all coats have been applied, let the lacquer cure completely. If you have applied 7 coats, allow at least 7 days before final sanding and polishing. The longer you wait, the better the finish will be.
After curing, remove the masking tape from areas such as the fretboard, nut, or bindings. If the bindings have absorbed some color, gently scrape them with a razor blade to restore their original appearance.
Note: This finishing kit does not include a final polish, which is optional. Even without it, you should achieve a smooth and glossy result. However, if you desire a higher shine, you can undertake additional polishing steps, including level sanding, polishing sanding, and buffing. These steps are beyond the scope of this guide.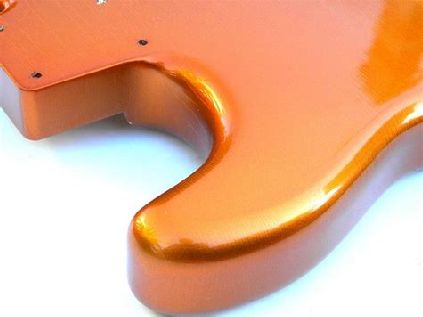
Related Posts

- The Guitar Fabrik
- Jun 27, 2025
- 291views
IBANEZ CUSTOM BASS SHOWCASE

- The Guitar Fabrik
- May 29, 2025
- 421views
B.C. RICH CUSTOM GUITAR SHOWCASE

- The Guitar Fabrik
- May 1, 2025
- 175views
MUSIC MAN CUSTOM BASS SHOWCASE

- The Guitar Fabrik
- Apr 28, 2025
- 724views
RICKENBACKER CUSTOM GUITAR SHOWCASE
Recent Posts