US
US FR
FR DE
DE IT
IT ES
ESSTAINING MY GUITAR
- The Guitar Fabrik
- PAINTING USER GUIDE
- Mar 16, 2025 views
- 1182
DYE THE WOOD
General Information
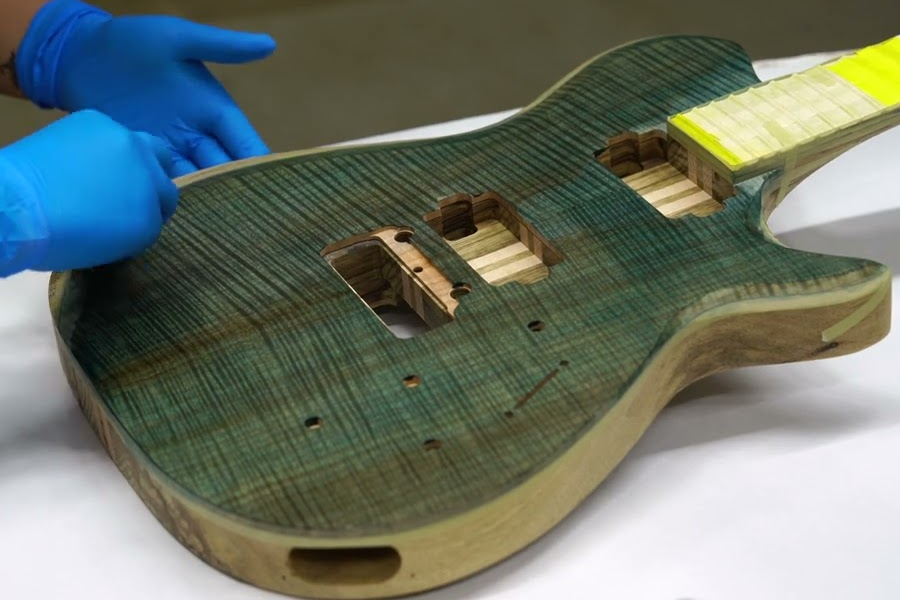
- Applying the stain is the easiest step among the different finishing steps and is also the most enjoyable as it will make your guitar kit look beautiful.
- The main difficulty with dyeing is anticipating the final results. Indeed, depending on the wood, the stain concentration and the varnish, the end result will be different. As a general rule, you can use the color rules (yellow with blue will make green, etc.). So, at a high level, a mahogany which as a red tint applies a blue tint will create a purple coloration. Your best bet will be to use a sample of wood sold on our website to test the finish upstream and get the finish you are really looking for.
- We suggest going step by step. First stain with a strong dilution like 40% white spirit (again do not mix with water if you are using a water-based varnish). From the results you get, you can then increase the coloring by adding more coloring product. You can even use pure tincture as well as multiple layers to further increase the intensity.
- Do not apply too much dye at once. It is not good that the wood is too wet. Be especially careful with a veneer.
- Unless you want to readjust your color and tint concentration, there is no need to sand between coats of stain.
- To control the intensity of the stain, you can apply extra coats of stain to increase the intensity or sand lightly to reduce the intensity (but try to avoid sanding).
Apply a water-based stain with a water-based varnish: Please note, water-based stains are not compatible with our water-based varnish. Indeed they will react together and mix. Use an alcohol-based stain such as our stains sold on our website or included in your finishing kit.
Pre-Treatment (to Increase the intensity of your Dye)
Sand up to P600: We invite you to sand with P600 grit after a first stain if you are looking for intense coloring. Indeed, the stain will be able to penetrate the wood better if the wood has previously been sanded less finely. You can then apply a second stain. Otherwise you can sand with P600 grit and then apply your first stain.
Lift the pores of the wood before staining: Although optional and only for mahogany or ash, lifting the grain of the woods you wish to stain is useful if you wish to increase the intensity of the stain. This is because woods will accept more stains if they lift the grain before staining. To do this, wet a clean cloth with water and wipe the wood with it. While you shouldn't flood the surface, don't be afraid to get it wet either. The water will penetrate the wood and cause the grain to rise and open. Let the wood dry completely, overnight, or wait 6 to 8 hours if your working environment is at room temperature and humidity. The grain should now pick up and your surface is now ready to accept more stains. Do this process only once. Do not use this process on veneer.
Mix with wood filler: if using wood filler as explained in the filler section. This will significantly increase the intensity of the dye.
Preparation
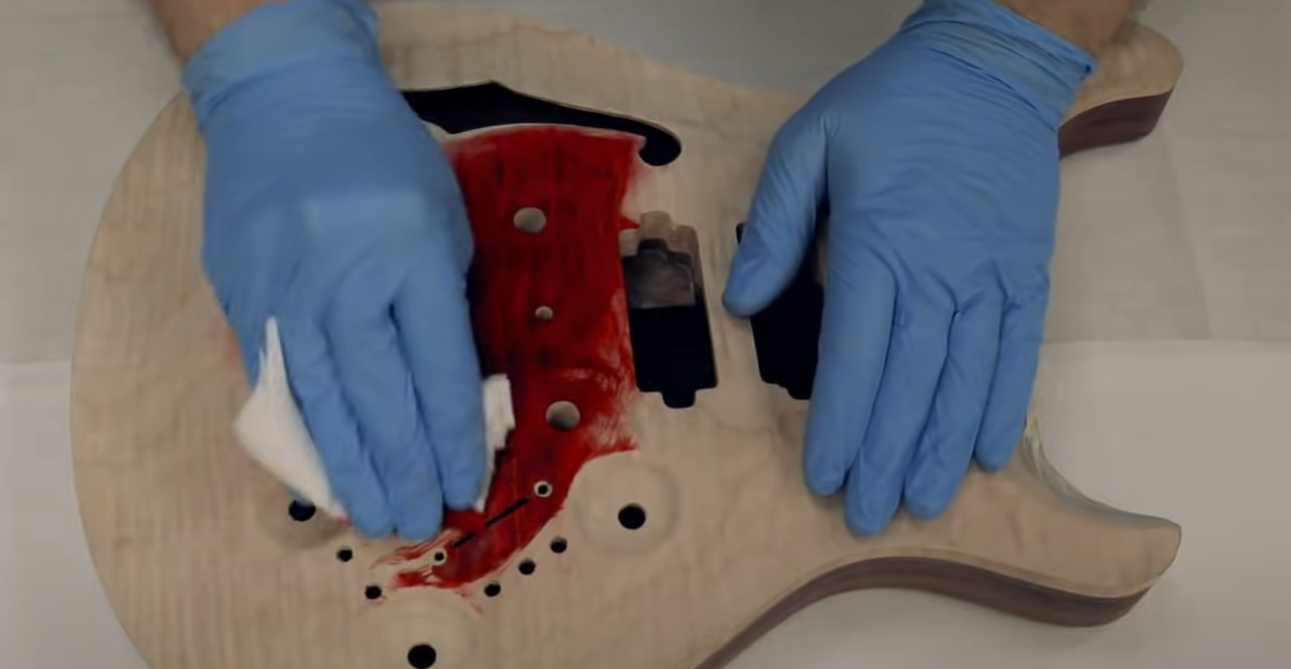
Pour a small amount of your dye into a clean container, then add a few drops of white spirit to dilute it. As a starting point, we recommend a 60% dye to 40% white spirit ratio for the first coat. This mixture offers a good balance between color intensity and control. However, feel free to adjust the dilution depending on how deep or subtle you want the color to appear — it all comes down to your desired finish!
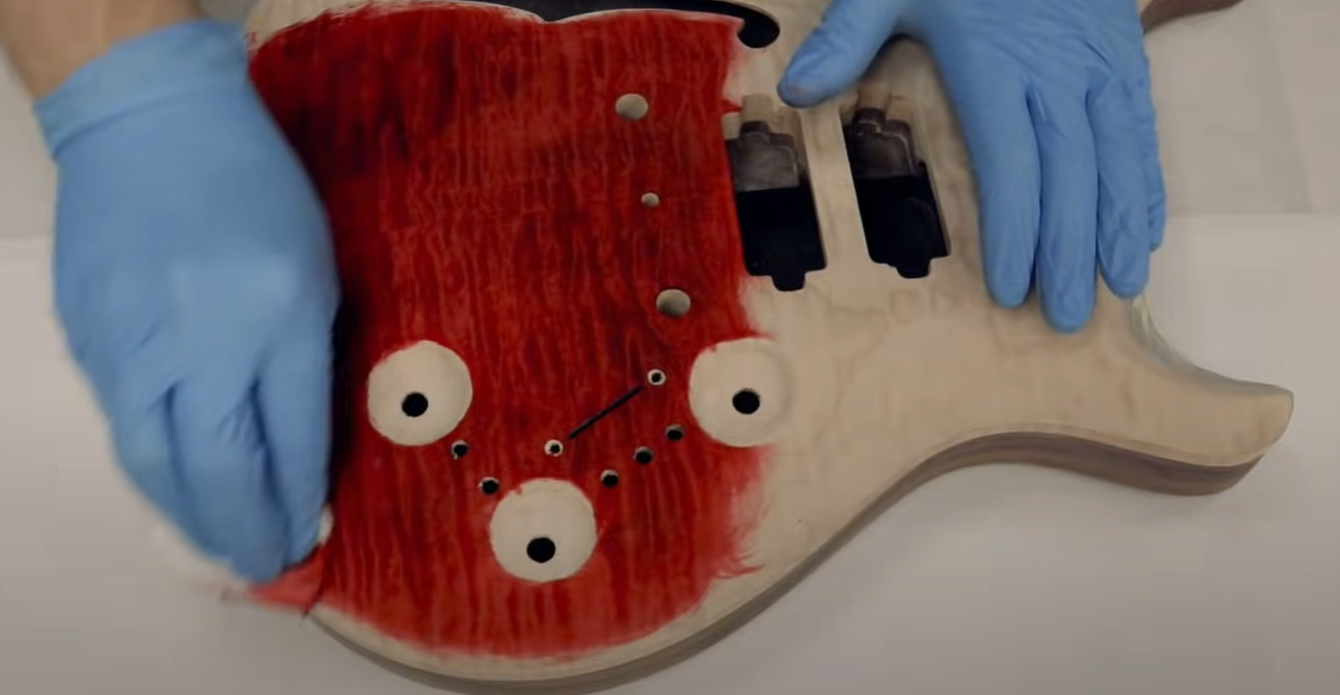
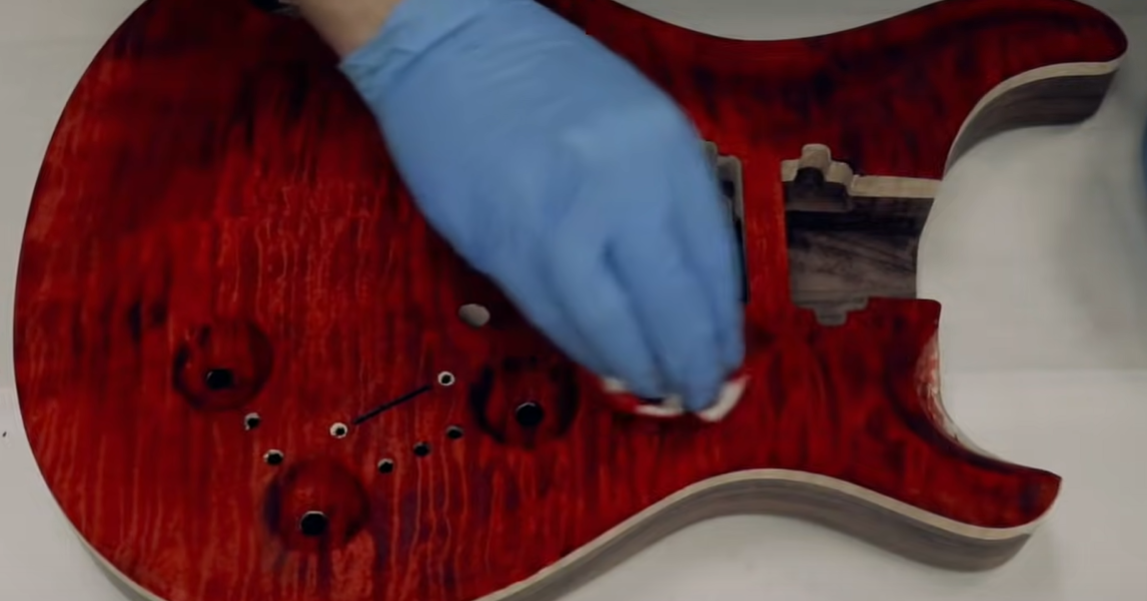
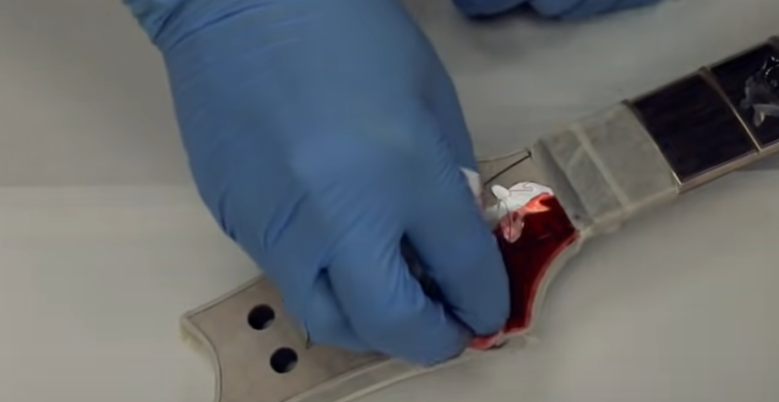
Application
To apply the stain, soak a rag in your stain solution and apply it to your wood in a circular motion. Do not moisten your wood too much. Then leave to dry for 1 hour. Check your results and based on your satisfaction, adjust with an additional coat of dye with an appropriate adjusted concentration.
Once satisfied, wait 2 days before embarking on the rest of your finish!
Related Products
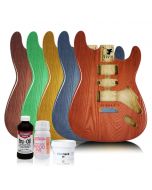
From £20.23 was £27.48
To £129.19 was £160.74

From £27.97 was £37.97
To £154.04 was £177.05

From £30.78 was £50.87
To £140.55 was £164.83

From £35.60 was £42.47
To £143.36 was £168.05
Related Posts

- The Guitar Fabrik
- Jun 27, 2025
- 291views
IBANEZ CUSTOM BASS SHOWCASE

- The Guitar Fabrik
- May 29, 2025
- 421views
B.C. RICH CUSTOM GUITAR SHOWCASE

- The Guitar Fabrik
- May 1, 2025
- 175views
MUSIC MAN CUSTOM BASS SHOWCASE

- The Guitar Fabrik
- Apr 28, 2025
- 724views
RICKENBACKER CUSTOM GUITAR SHOWCASE
Related Products
From £20.23 was £27.48
To £129.19 was £160.74
From £27.97 was £37.97
To £154.04 was £177.05
From £30.78 was £50.87
To £140.55 was £164.83
From £35.60 was £42.47
To £143.36 was £168.05
Recent Posts