US
US FR
FR DE
DE IT
IT ES
ESPOLISHING MY GUITAR
- The Guitar Fabrik
- PAINTING USER GUIDE
- Mar 16, 2025 views
- 639
POLISHING
General Information
Polishing is optional, and normally, even without it, you should already have achieved a very nice result. However, if you want more shine and an even smoother surface, we invite you to undertake this final finishing step. Polishing can be divided into three stages: leveling sanding to remove the last defects, sanding for polishing, and finally buffing. These steps will be further detailed below. Also, take note:
- Always be careful when sanding, applying very light pressure, especially near the edges. It is easy to remove varnish if you press too hard!
- Always ensure you remove all dust generated by your work environment or sanding. One idea is to run a fan simultaneously to remove dust immediately.
- From time to time, "tap" or rub your on a mat to remove embedded dust.
- For a water-based finish, do not sand with water. Use a dry sanding method. If you sand with water on a water-based varnish that has not completely dried, you may slightly remove your varnish layer.
- When using water, always use room temperature water. Cold water can damage and crack your finish.
Before starting, the wood should have already been sanded with P800 or P1000 grit in the previous step.
Preparation
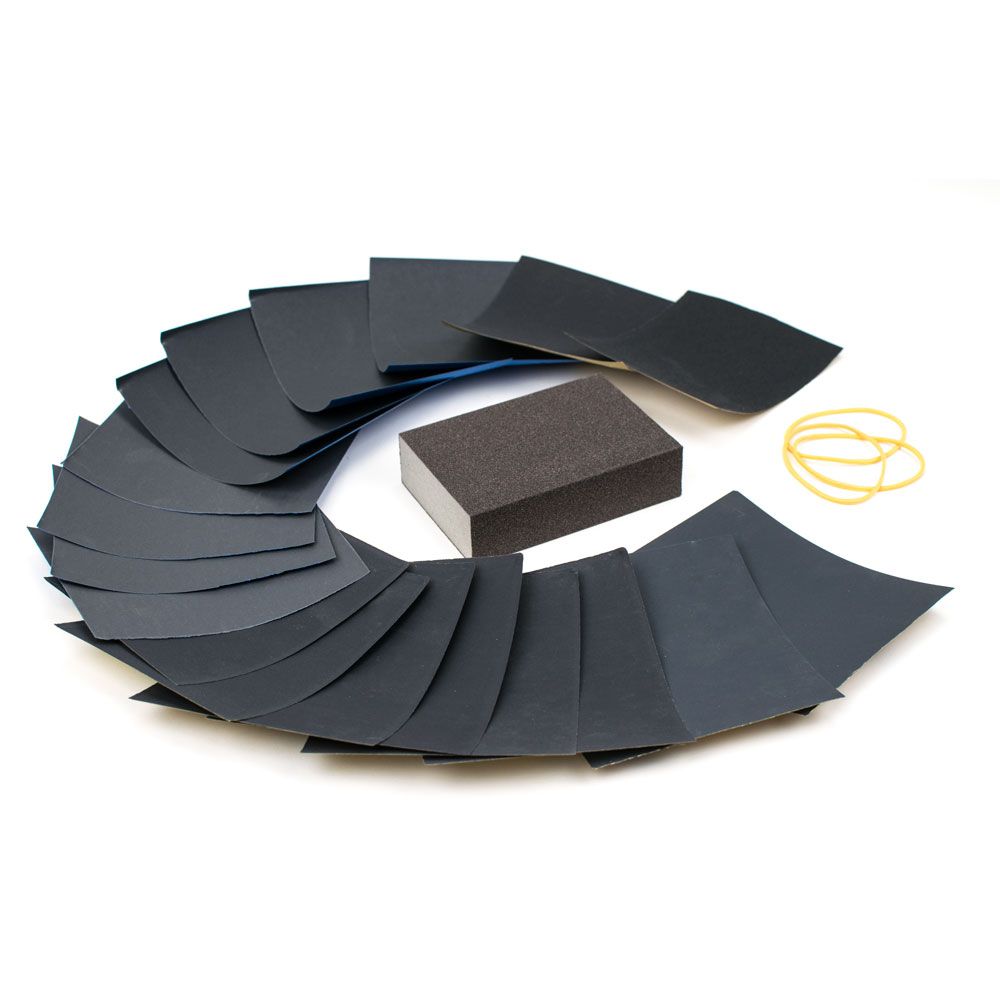
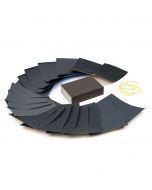
Before you begin, make sure you have both dry and wet on hand in grits P1000, P1200, P1500, P2000, and P2500. For optimal results during sanding, we recommend placing your guitar on a soft, stable surface—like a carpet or thick towel—to protect the body from scratches and ensure even pressure as you work.
Processing
Leveling Sanding:This step is only necessary if you still have localized imperfections (such as drips or significant roughness). In this case, you should sand down to P400 to remove the imperfections, then progress to P600, P800, and P1000. For localized sanding, the sandpaper is smaller, and a smaller —is used, as it is a very localized sanding process.
Tip: For sanding guitar edges and contours, flexible tools like a foam tip, rubber eraser, cork block, or even a thermal insulation sheath wrapped in sandpaper conform easily to curves, offering better control without flattening rounded areas. Mixing these lets you adapt quickly to different shapes while staying gentle on the wood.
Polishing Sanding:For the polishing step, refer to section IV. However, please note that this time, you should apply minimal pressure while sanding. The goal is to erode the surface, not remove material, but to eliminate slight surface imperfections created during the varnish application.
Start sanding with P1000 grit, then move to P1200, P1500, P2000, and finally P2500. Some prefer to continue, but you won’t notice a significant difference. Always remove dust using a running fan to prevent it from scratching your finish further!
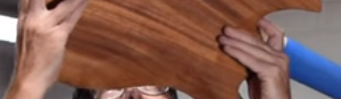
At this stage, you should have a slightly whitened finish with micro-scratches removed. You can see this clearly by placing the wood near a light source and tilting it slightly to create reflections that make these scratches more visible. If you see micro-scratches, return to P1000 grit and work up to P2500.
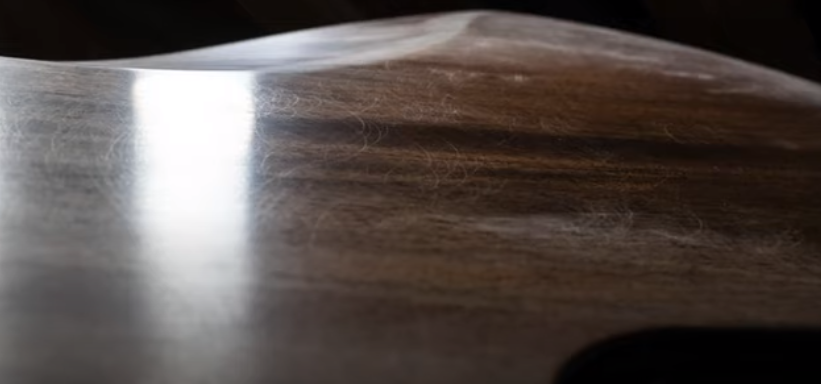
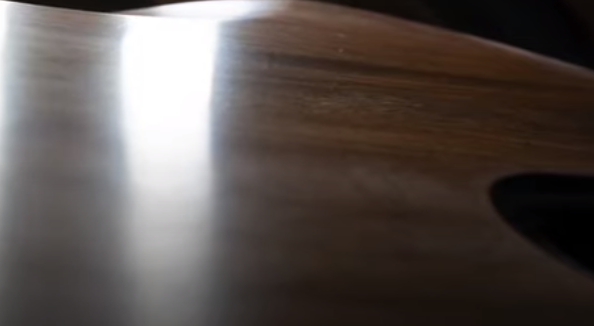
Before (left) & after (right) sanding
It is now necessary to buff your wood to transform the whitish surface into an ultra-glossy finish.
Buffing
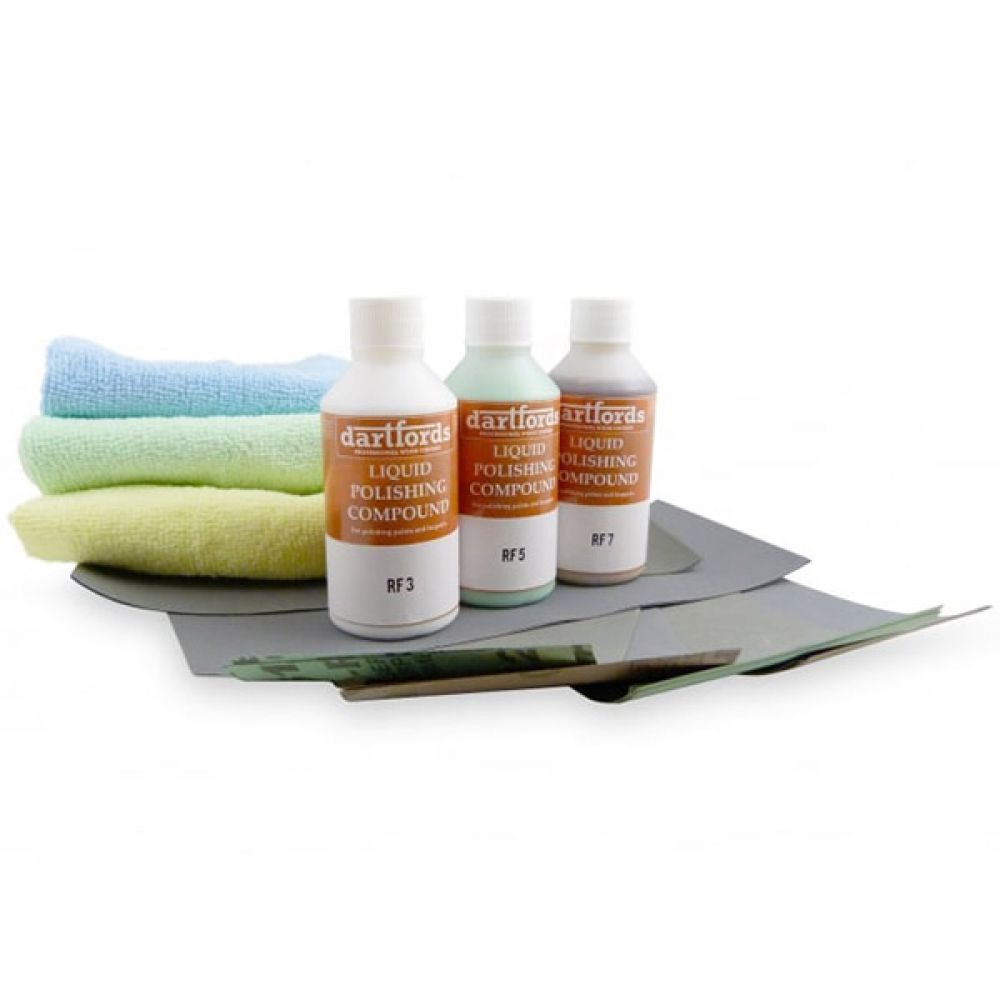
This is the final step, where additional products must be applied. You can either use dish soap mixed with water or apply dedicated polishing products, such as those available on our website. In particular, our contains everything necessary for sanding, polishing, and hand buffing (a specific guide for polishing with this finishing kit is also included). Naturally, using products specifically designed for guitar buffing will provide much better results.
The selected polishing product can be applied either by hand or by machine.
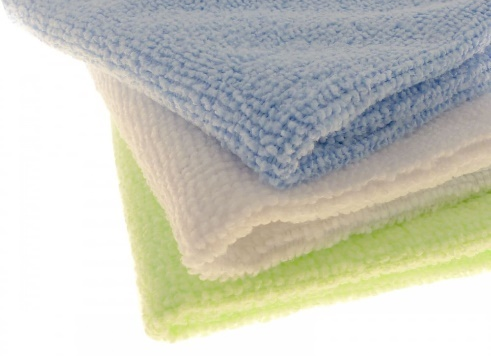
By Hand: We recommend using microfiber cloths. Rub in circular motions, applying light pressure. Rinse and continue until you are satisfied with the result.
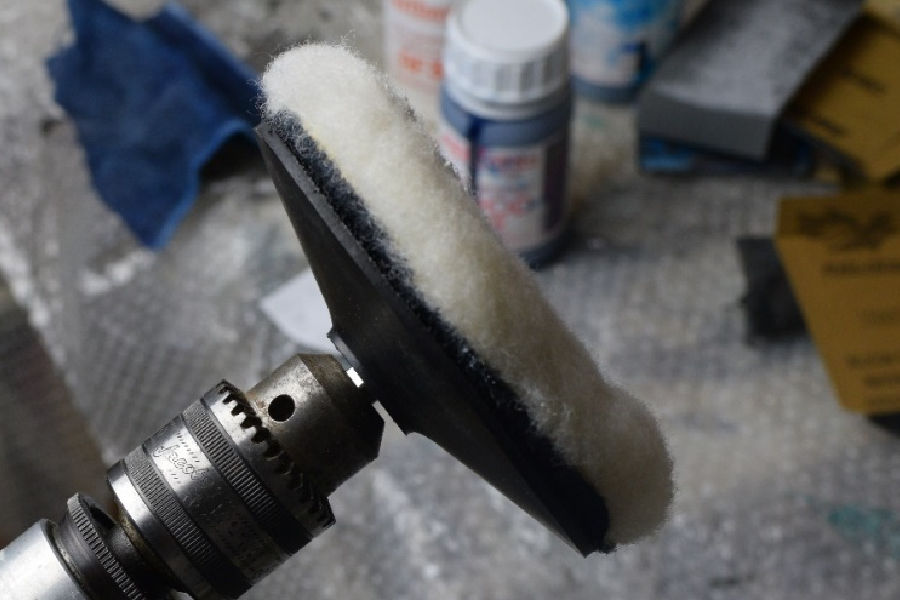
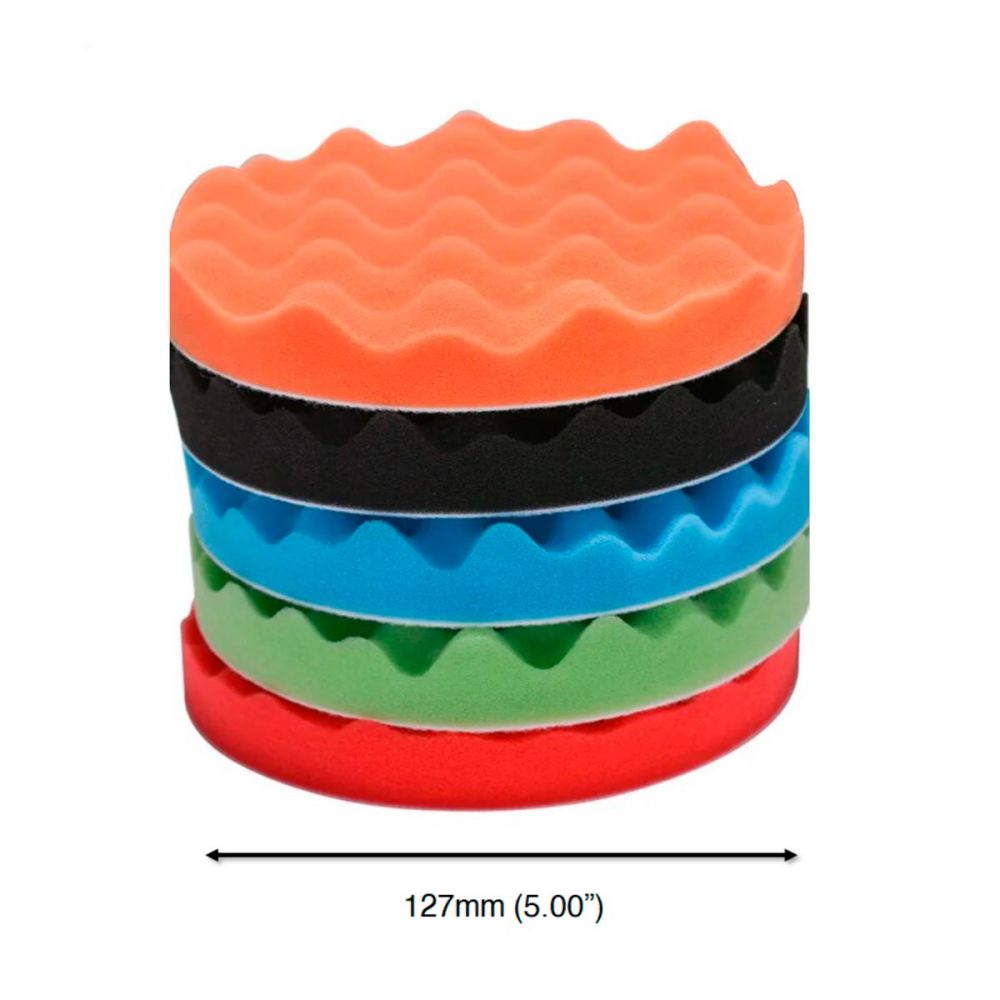
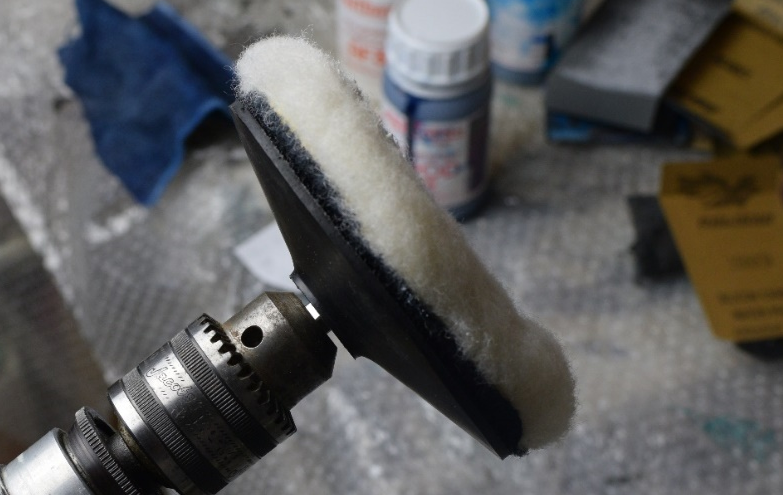
With a Machine: While dedicated polishing machines exist, you can easily use a drill with a polishing attachment to buff your guitar effectively. Always keep the drill moving at a moderate speed to avoid overheating the surface, as excess friction can damage the finish. Start with a firm for initial polishing, then switch to a softer to enhance the shine and achieve a smooth, glossy finish. Be aware that some areas may be too tight or curved for the machine to reach.
Note:
During this final buffing process, wearing a respirator and protective goggles is also advised, especially when using a polishing machine. Polishing product particles will be sprayed into the air.
Related Products


Related Posts

- The Guitar Fabrik
- Jun 27, 2025
- 291views
IBANEZ CUSTOM BASS SHOWCASE

- The Guitar Fabrik
- May 29, 2025
- 421views
B.C. RICH CUSTOM GUITAR SHOWCASE

- The Guitar Fabrik
- May 1, 2025
- 175views
MUSIC MAN CUSTOM BASS SHOWCASE

- The Guitar Fabrik
- Apr 28, 2025
- 724views
RICKENBACKER CUSTOM GUITAR SHOWCASE
Related Products
Recent Posts